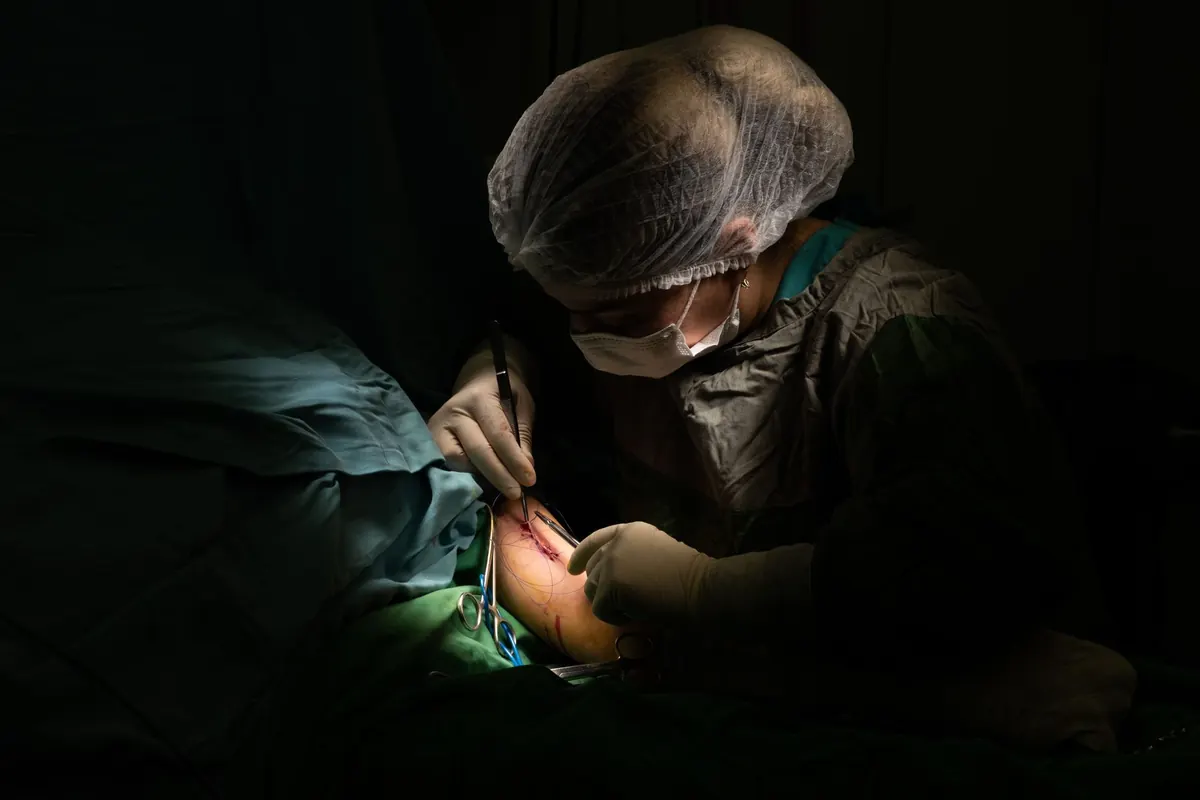
The tray is open, the drape is on, and the surgeon's hand is already out for the knife. Somewhere in that ninety-second gap, a good deal of avoidable harm is either caught or missed. The surgical safety checklist exists to fill that gap — and as a trainee, you are often the person best placed to make it work. You clerked the patient. You chased the imaging. You know about the penicillin rash nobody wrote in the discharge summary.
This guide is not a reproduction of any single national checklist. It is a practical account of what each stage is for, what tends to go wrong, and how to behave while it happens. Your hospital's version, and your trust or health authority's policy, always takes precedence over anything written here.
Why the checklist belongs to you
Trainees sometimes treat the checklist as administrative theatre performed by whoever holds the clipboard. That is a mistake, and it is also a waste of the best-informed person in the room. Rotas mean that surgical teams change between lists, scrub staff rotate, and the anaesthetist covering the afternoon may not have met the patient. The trainee is frequently the only constant between the ward round and the operating table.
The checklist is also not a test of seniority. Nobody expects the foundation doctor to lead a time-out, but everybody benefits from a trainee who knows the answers and is willing to say them out loud. Learn the local checklist format early, practise the phrasing in a quiet moment, and you will find it takes less than a minute to be genuinely useful.
Sign-in: before the patient is anaesthetised
Sign-in happens while the patient is still awake and still able to answer questions. That is the whole point. If something is wrong — the wrong side marked, the consent form for a different procedure, an allergy nobody mentioned — you want to find it now, not after induction.
Work through the essentials deliberately:
- Identity and procedure. Three identifiers, the planned operation, the site and the side. Ask the patient to confirm the site and mark it if the local policy requires this.
- Consent and documentation. The form matches the operation on the list. Blood products have been authorised if they might be needed.
- Allergies and reactions. Not just the drug name — what actually happened.
- Airway and aspiration risk. Difficult airway history, dentures, loose teeth, fasting status, reflux, obesity. This is the anaesthetist's territory, but you should know it too.
- Blood loss and fluids. Anticipated loss, cannula size, cross-matched units available.
- Imaging. Present, correct, and on the screen rather than buried in a folder.
- Prophylaxis and equipment. Antibiotic given at the right time, thromboprophylaxis addressed, warming in place, any special implant or instrument requested.
A useful habit: read the notes yourself before the patient arrives in the anaesthetic room, and jot three lines on your handover sheet — diagnosis, planned operation, one thing that could go wrong. You will use those three lines twice more before the case ends.
Time-out: the room goes quiet
The time-out is the only moment in the day when the whole team is contractually in the same conversation. The surgeon stops, the anaesthetist turns, the scrub team puts down what it is holding. If the room does not quieten, it has not happened.
What a good time-out sounds like
Everyone gives their name and role — out loud, even when it feels awkward. The patient, procedure, site and side are confirmed against the documentation and, where possible, against the patient. Antibiotic timing is stated rather than assumed. Essential imaging is displayed. The sterility of the field is confirmed by the scrub practitioner.
Then the three statements that matter most: the surgeon's anticipated critical events, the anaesthetist's concerns, and the nursing team's concerns about equipment or instruments. "Blood loss of a litre is likely and I'd like two units in the room" is useful. "Should be straightforward" is not.
Trainee mistakes worth avoiding
Mumbling into the notes. Standing at the back of the room. Confirming a side you have not actually checked. Not knowing the plan because you were in another theatre for the briefing. Reading the checklist like a shopping list when the team is trying to have a conversation. None of these are catastrophic on their own; together they turn the time-out into noise, and noise gets tuned out.
Equipment verification: beyond "is it there?"
Most equipment failures are not dramatic. They are the diathermy lead that does not reach, the light source with the wrong adapter, the stapler size nobody stocked, the suction that is present but not connected. Apply three questions to anything unusual: does it work, is it in this room, and does everyone know where it is and how to use it?
Before the first case, walk the room. Check the diathermy and its return electrode, the suction, the tourniquet if relevant, the laparoscopy stack, the light leads, the suture and stapler stocks, and the specific retractor or implant the consultant asked for in the notes. For major cases, confirm that blood is available and that the difficult airway trolley is where it should be. Any special item flagged at the briefing gets opened and checked before incision, not when it is needed.
Communication: how to speak up without a title
Good teams use names and read back instructions. "Lucy, please give 1 gram of tranexamic acid" should come back as "1 gram of tranexamic acid, giving it now." Closed-loop communication feels stilted for about a week and then becomes automatic.
If something seems wrong, say so early and plainly, before the moment passes. A simple graded approach works: state the concern, state why it matters, then ask for the team to pause. You do not need to be certain to raise a question, and you do not need to be senior to ask for a swab count to be repeated. If you are dismissed and still uneasy, escalate to your supervising surgeon or the anaesthetist directly. Being the person who asks the obvious question is a professional skill, not an annoyance.
Sign-out: the part everyone rushes
Sign-out happens before the patient leaves theatre, and it is where the day's loose ends get tied. Confirm the procedure as actually performed and recorded, including any change from the planned operation. Confirm that swab, needle and instrument counts are correct and documented, and that any discrepancy has been escalated and recorded rather than resolved by memory.
Then the specimen: correct container, correct label, patient identifiers, site and side, and a completed request form. A mislabelled specimen is an unforced error that costs a patient a repeat procedure. Finish with the practical handover — estimated blood loss, drains and lines, wound classification, postoperative instructions, analgesia and thromboprophylaxis, and who is to be called overnight. Read it back to the receiving team.
Turning the checklist into a habit
Five minutes of preparation before the list starts will carry you through all three stages. Read the notes for every case on the list, not just your own. Write down the diagnosis, the planned operation and one anticipated problem for each patient. Arrive in theatre before the anaesthetic room, walk the equipment, and introduce yourself to the scrub team by name.
Then treat the checklist as a conversation you are responsible for, not a form someone else owns. Speak clearly, confirm what you can see rather than what you assume, and write down anything that was raised. Follow your institution's checklist and local policy, and if a clinical decision is unclear, ask your supervising surgeon or anaesthetist rather than guessing. The ninety seconds before incision are short. They are also the cheapest chance you will get all day to prevent something going wrong.
Photo: RDNE Stock project / Pexels